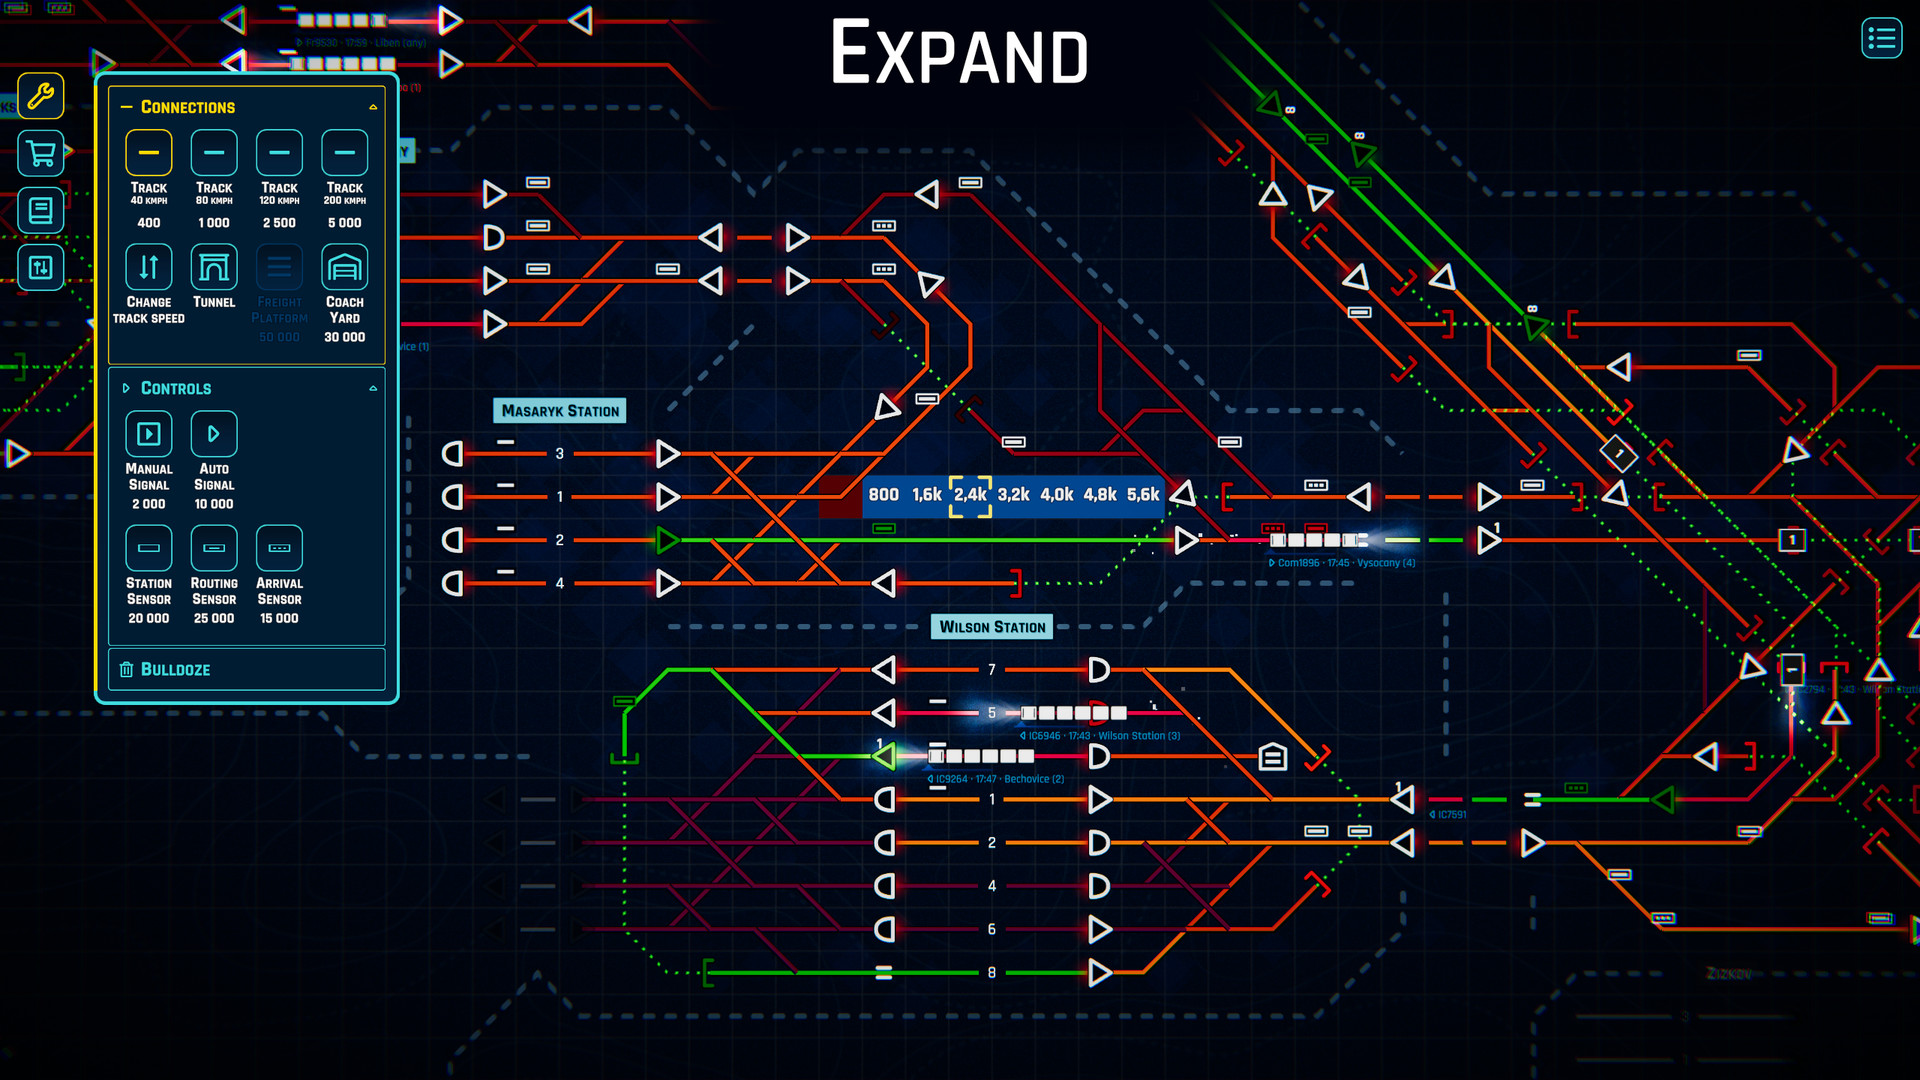
Hypnotizing with it’s elegant minimalism, the spray of numbers and times across the screen a soothing balm to the organized mind. It’s the base form of a puzzle game, meant to challenge you and engage you, driving you to do better than yourself, to improve times, and techniques, and flourish in one of the most classic forms of transportation: the Train on the Rail Road.
The Game engages with that base videogame urge to watch numbers go up, to streamline your new ability to the best of your power.
Upgrade your trains and railways, solve the puzzles given, and even build your own Railways. Edit and Automate your maps to create the smoothest ride anyone’s ever seen in Rail Route: Train Dispatcher Simulator.
Basic World building: Major locations and the breadcrumbs that will lead your players there.
Some starter quest for your players to introduce them to the world or situations you want them to face. This will also serve as a way to help your players figure out the beginnings of where they want to take their characters.
Your Players
Ready by session One:
Character sheets– These can be done as a group (as a “session 0”), or individually with the DM
Backstory– Informed by the world, they can intersect with those of other characters. It might be good to remind your players that the backstory is essentially a “Prologue” to the campaign.
Your Vibes
Ready by session One:
Prospective playlist for encounters: the specifics of which will be up to you. Some DMs like background music, others prefer the actual sounds that could feasibly be on the journey. For music, Video game OSTs can provide what you need. For Sounds, there are YouTube videos with things like 10 hours of ship noises, or failing that, you can look at customizable ambience sites.
Playlists helps your crew get in the mood, and can help with immersion in the story, depending on how you play it.
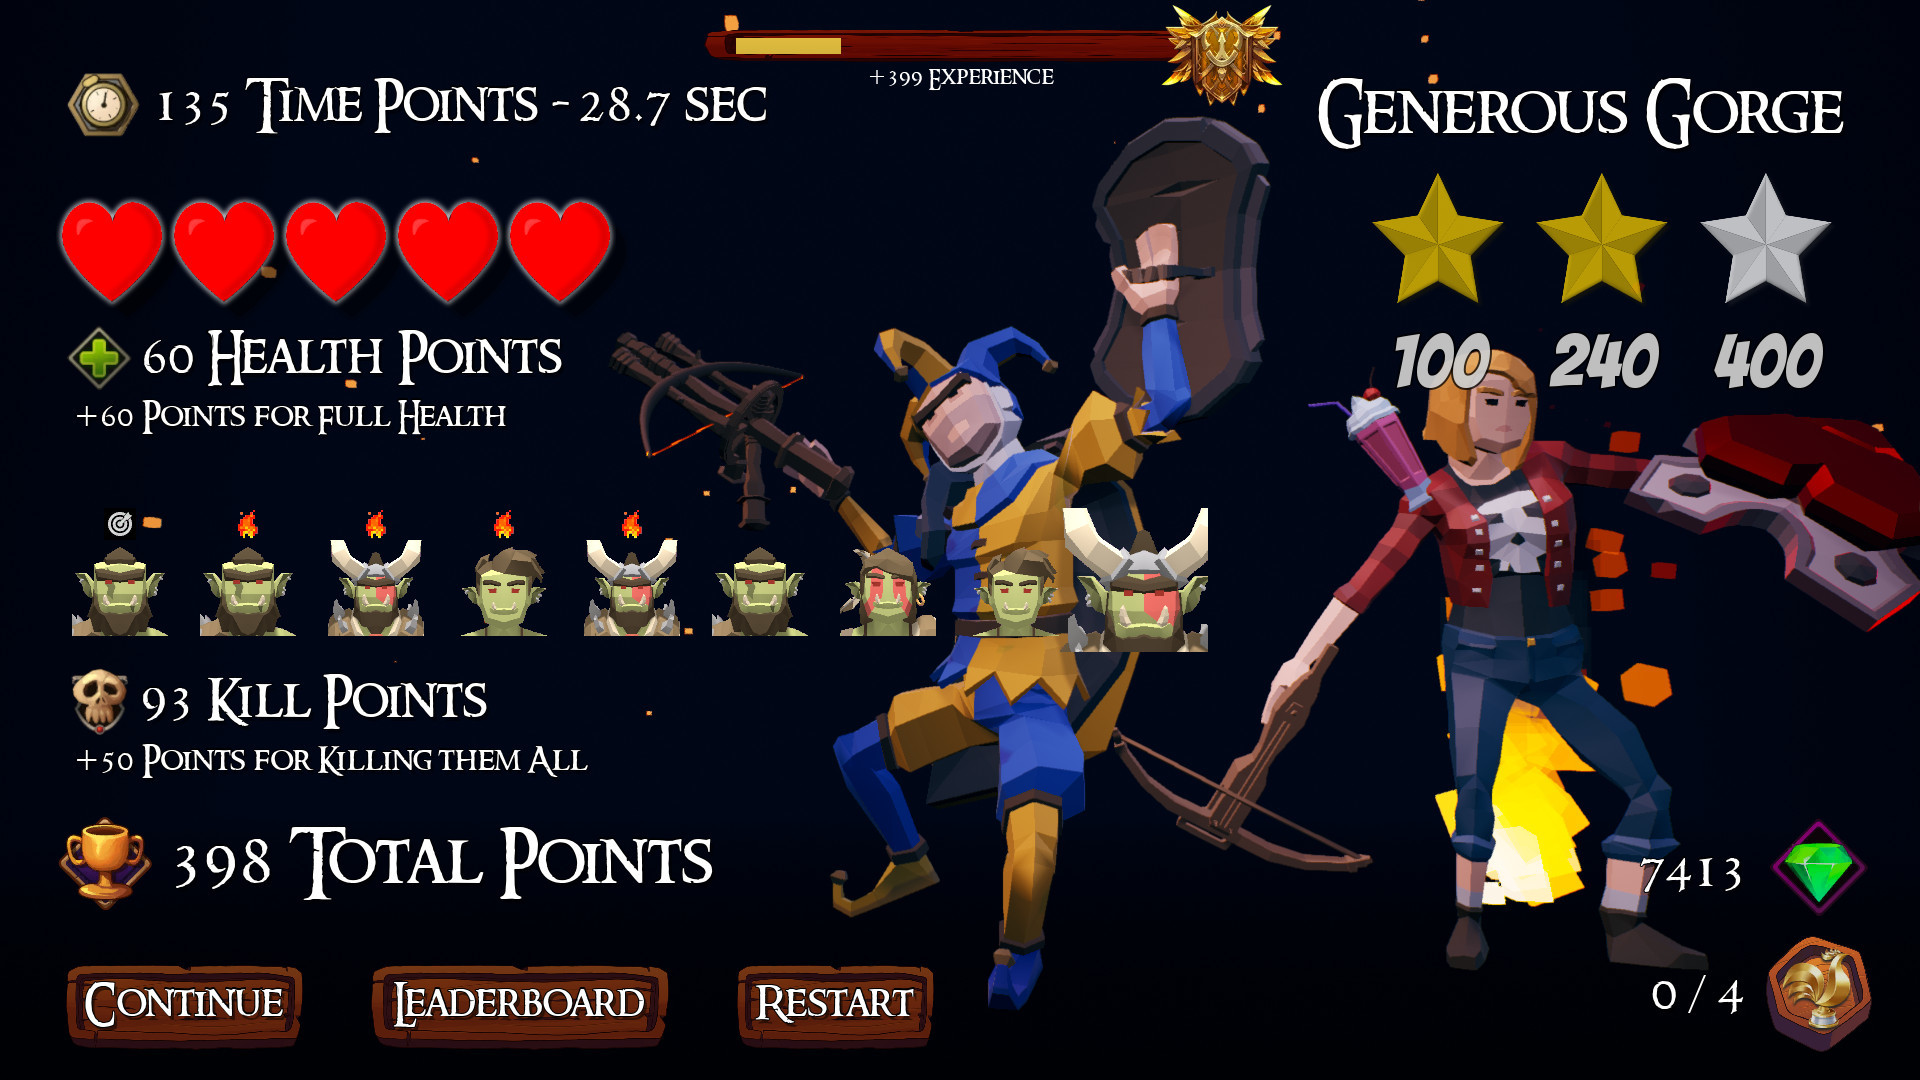
A free-to-play spin on the classic Robin Hood tale, Sherwood merges it with what any love about modern PvP games.
Building on the aesthetics of Middle Ages Europe, Sherwood is rendered in stylized polygons, with a wide range of customization for your player character.
Sherwood has abilities unique to Co-op, and maps in environments ranging from seaside pirate ships to nighttime forests.
I Love the way they have the tutorial text integrated into the game’s background scenery. It both blends really well while still catching the eye of the player.
Everything is very visible, but not in a way that’s jarring or takes out of the gameplay. The 3-d word effects for headshots or explosives add a fun, cartoony element. Leaderboards also appear as physical objects in the game, which make the standing feel more solid.
Overall, it’s a fun simple game, that lovers of Fortnite and Apex will enjoy, especially with friends that might be new for this genre.
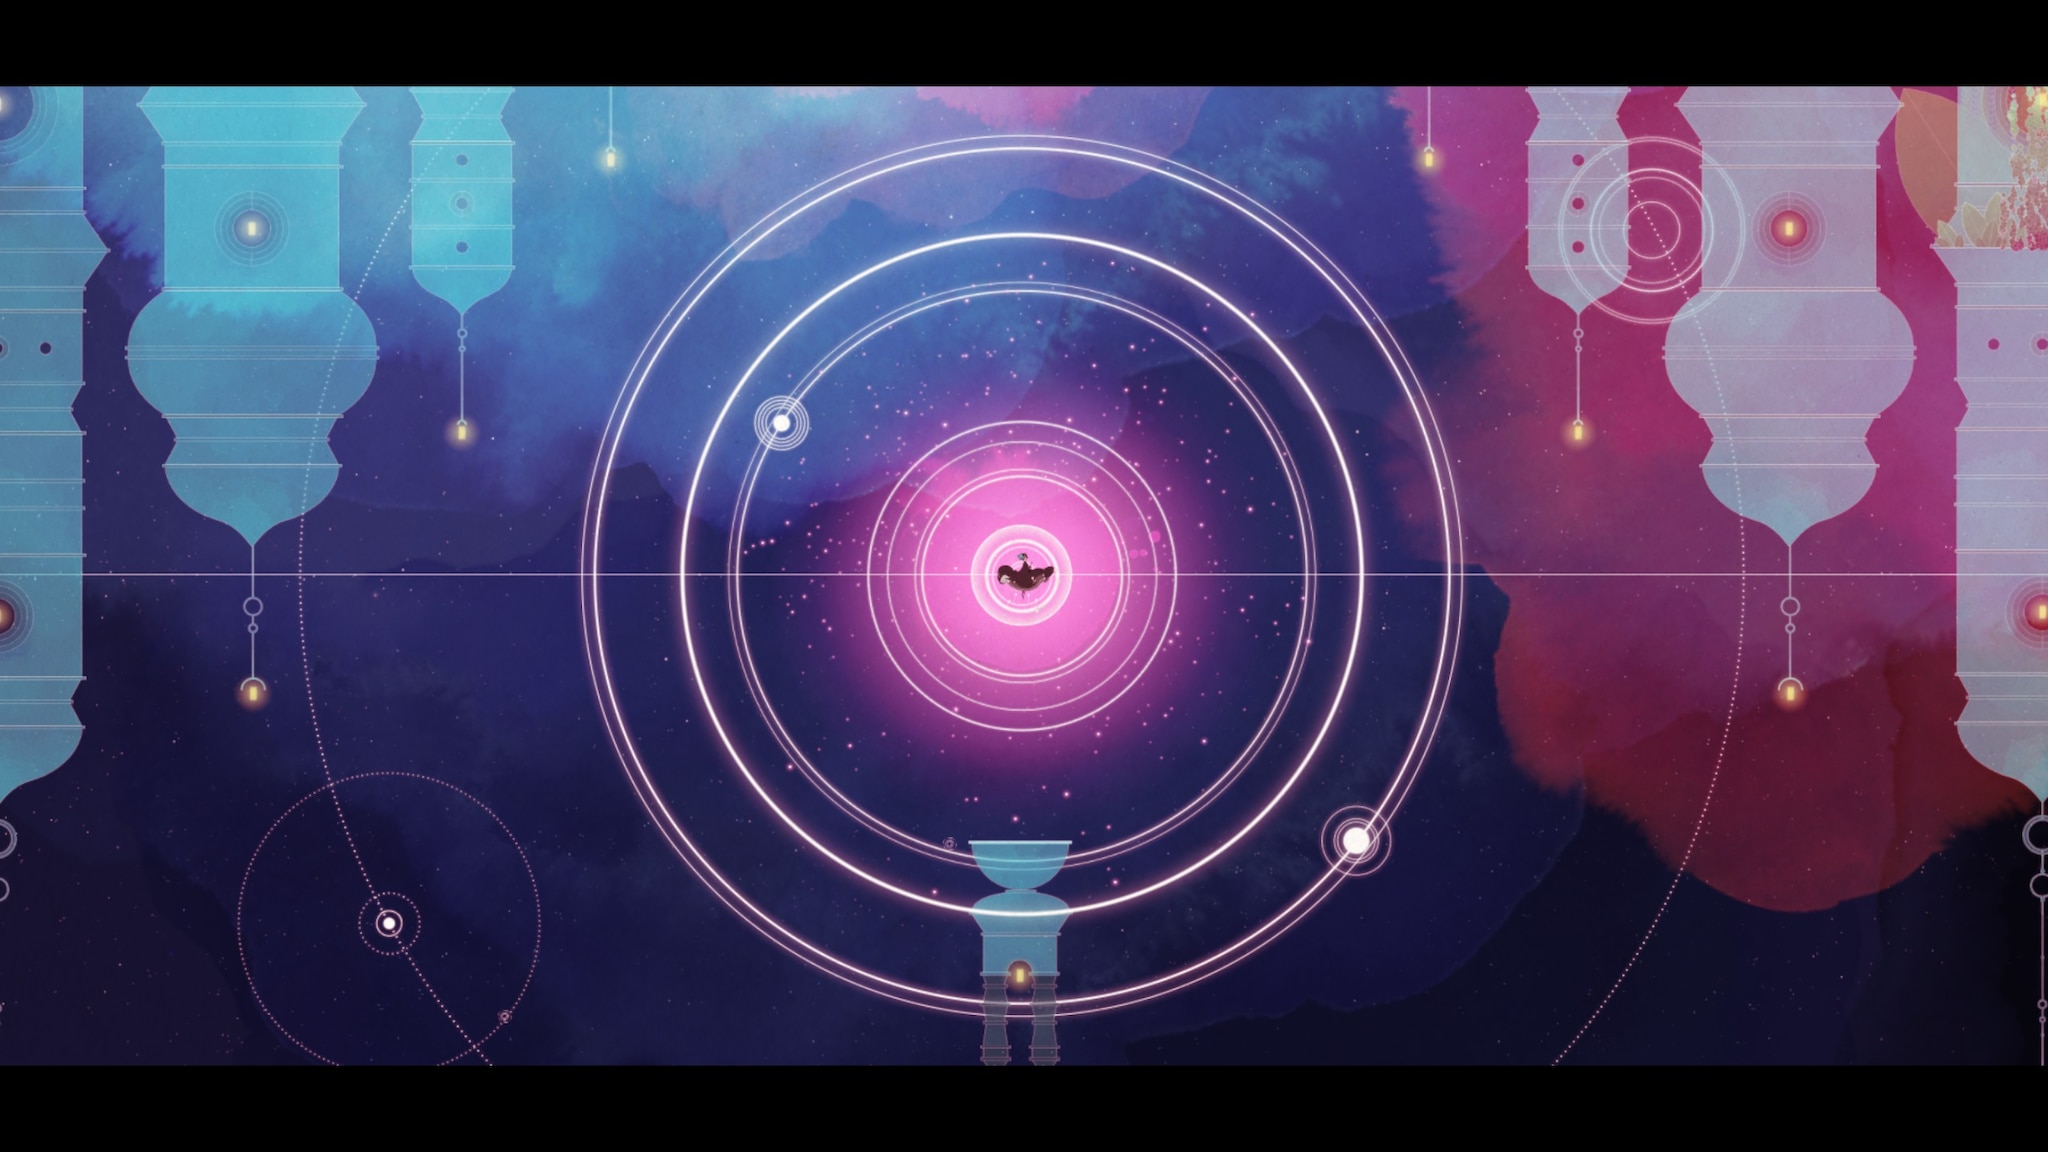
“Gris is a hopeful young girl lost in her own world, dealing with a painful experience in her life. Her journey through sorrow is manifested in her dress, which grants new abilities to better navigate her faded reality.” (from the Steam Page)
Art, Music, and its deeply emotional storyline are GRIS’s selling points! The game is Simple to play, and also Short (around 4 hours total playtime). It has especially Ethereal artwork for a combined puzzle-platformer, with Tight color palettes that expand as the game continues.
Available on PC, Appstore, Switch, it has 38:1 positive to Negative reviews on Steam, which I think is pretty impressive.
A gorgeous take on the “walking game” genre, Season’s main themes are “Travel” and “Preservation”.
A stylized game rendered in nostalgic colors, it looks like a fairytale painting. Explore a dying world and collect what remains of a world of life and wonder.
From the offical site:
Document, photograph, draw, and record life. Through a solitary bicycle journey, form your own memories, your own vision of the world around you. Your goal? Protect these treasures from being forgotten. Your quest will lead you to discover a new world; unknown, yet familiar. You will be immersed in different societies that will make you discover the mysteries of the world of Season; a surreal version of the mid-twentieth century, where thousands of years have passed without any progress. Find out what caused the last collapse and what might cause the next one…
By Scavengers studio, due to be released this year on PC and Playstation.
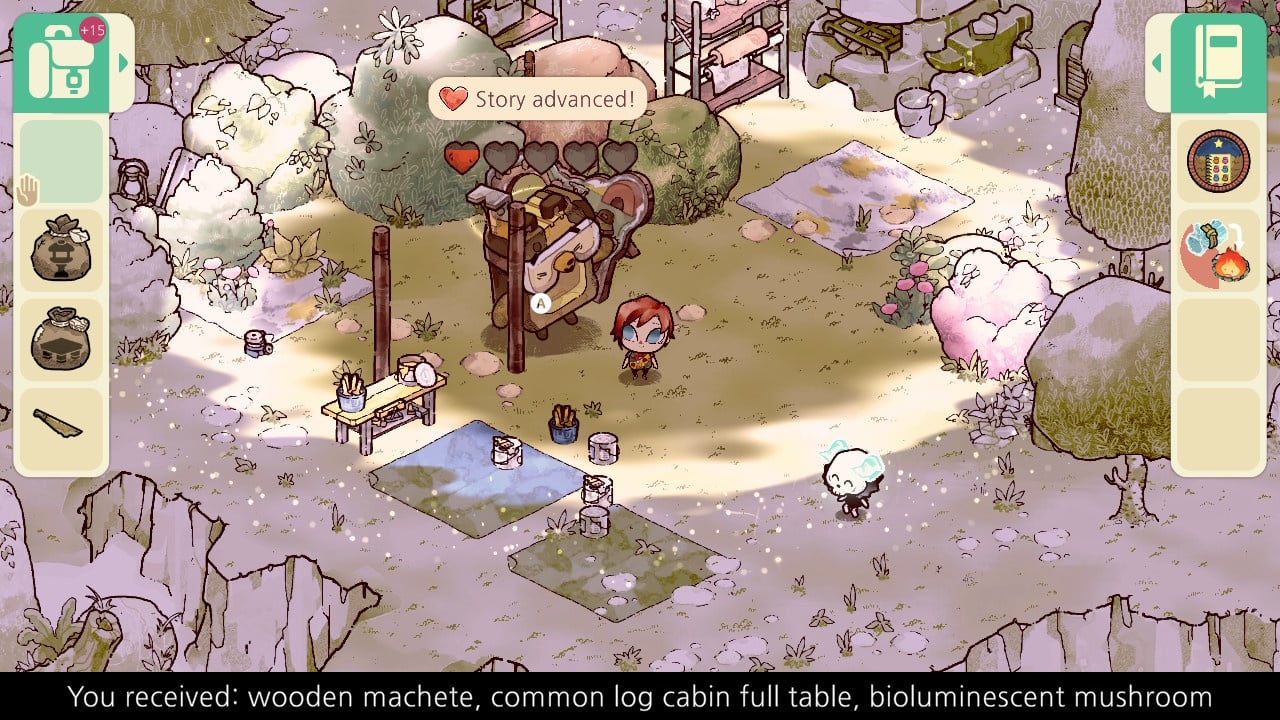
Capitalizing on the Animal Crossing craze, this adorable game adds a haunting twist!
The lovely artwork is paired with a Real-time environment and missions to go on! There is more to do as more time passes, and game play starts at a half hour and builds to over 2 hours a day.
Cozy Grove is an easier and more character based alternative to animal crossing, and has mechanics reminiscent of Stardew Valley.
Decoration can influences your surroundings, and Item collecting is a relatively large part of gameplay. It’s Good for casual gamers , as it’s mechanics, by design, space out playtime.
With a ratio of 3 Positive reviews for every one negative on Steam, the game garners an 80% on MetaCritic. Most of the Negative reviews don’t care for the segmented, real time play style, rather than anything technical.
The art is light and whimsical, adding to the relaxing nature of the game, while the writing keeps you intrigued with each character’s story .
The game is available in 14 different languages. and on switch as well as PC!
3D platformer which acts as the debut platform for the Publisher Playtonic Friends, “Demon Turf” has a combination of 2D and 3D art. So far, some of the quirks include self-placed checkpoints and momentum-based battle.
It’s cute artstyle and unique designs show promise!
Demon Turf is planned to be released in 2021, a platformer for all ages!
In part 2, we’ll be using Excel, and the updated version of MS paint (Paint 3d)
Paint 3D
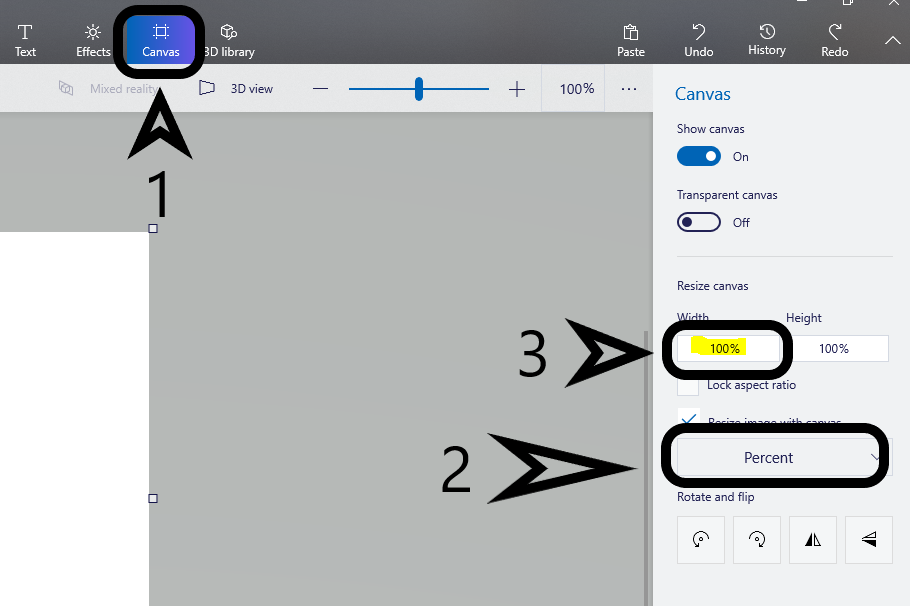
Open up paint 3d! You want to go to the Canvas tab, and switch the sizing from pixels to percent. Type in 30 for the width. Or you can put in the exact pixel size for your card. Pokemon cards are 718 x 1000 pixels.
Step 1
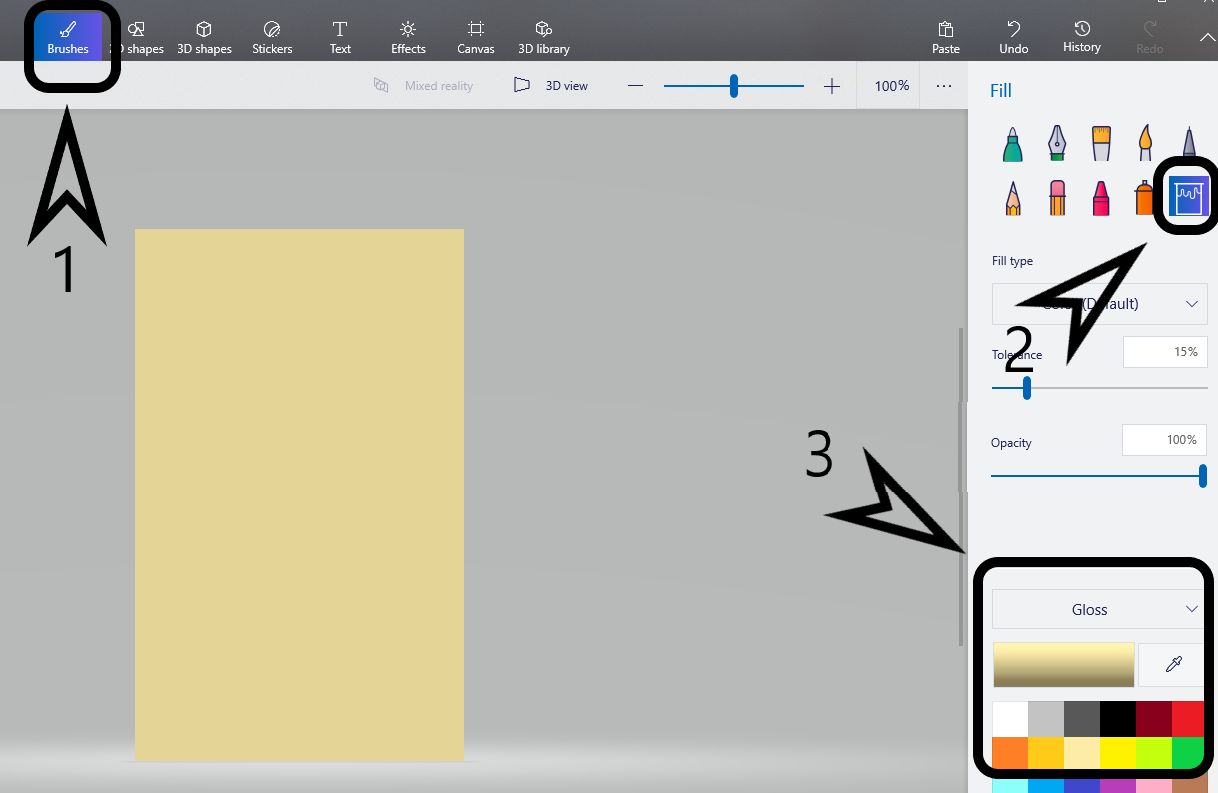
Next, click back to the brushes, select your color and use the bucket (fill) tool on your canvas!
Step 2
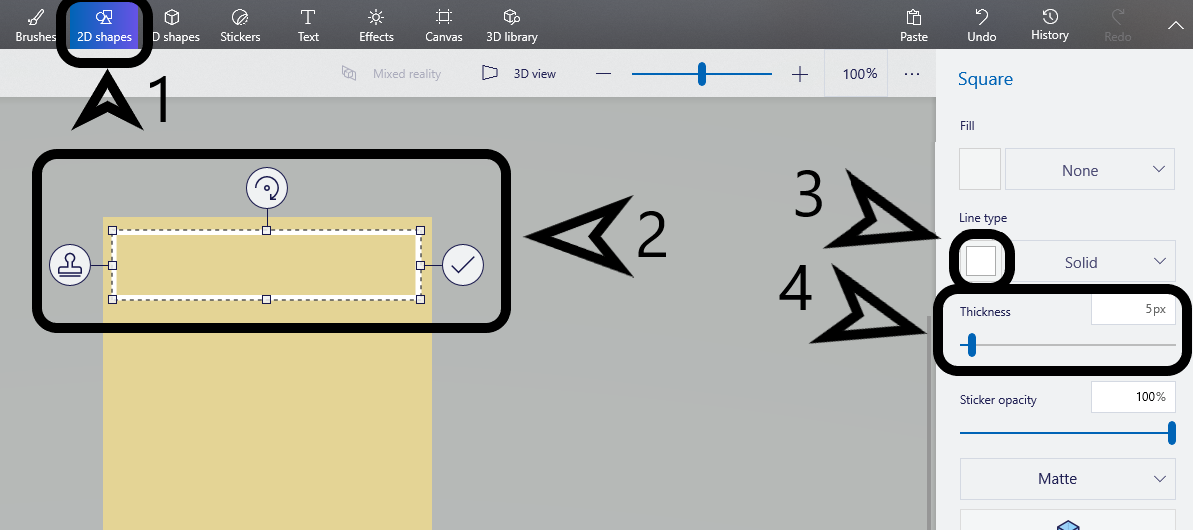
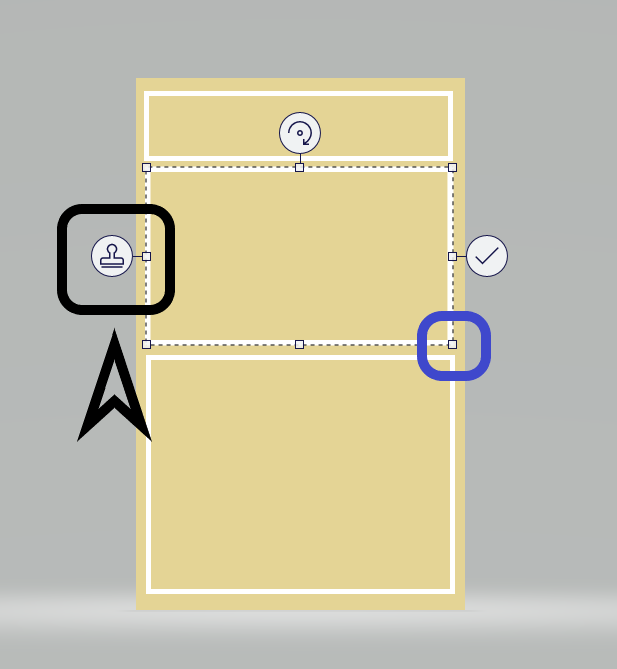
To help figure out what you want, and where, it’s helpful to outline with rectangles! Go to 2D shapes, Pick the rectangle option, drag a corner to grow to the size you want. Then, adjust your line thickness and color to your preference! If the rectangle is a whole shape, you can change it to an outline by changing the fill option to none.
Step 3
Instead of repeatedly clicking on the 2D shapes, you can use the clone tool. Click the left-most option, and drag the new shape to modify it as you wish!
Step 4
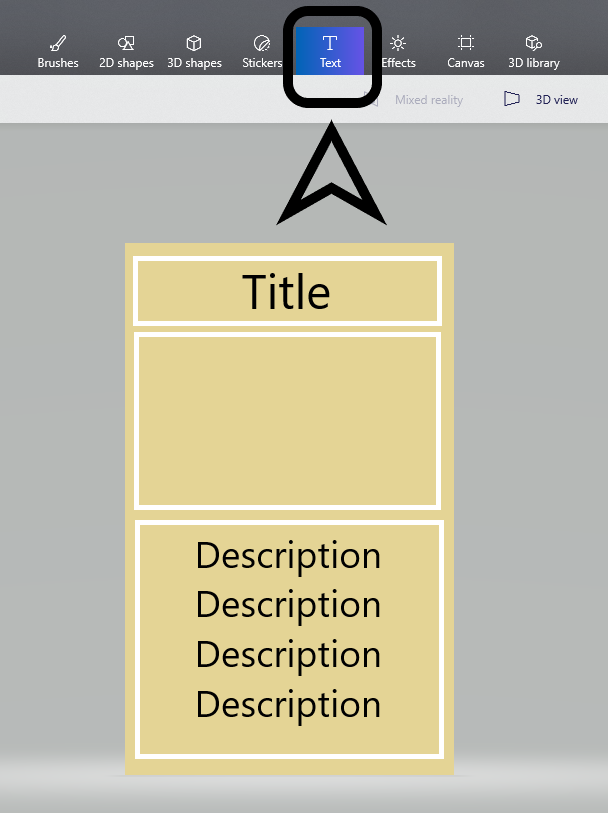
Next, play around with the text options! Make sure to click on the letter “T” in the option bar before clicking where you want to place the text.
Step 5
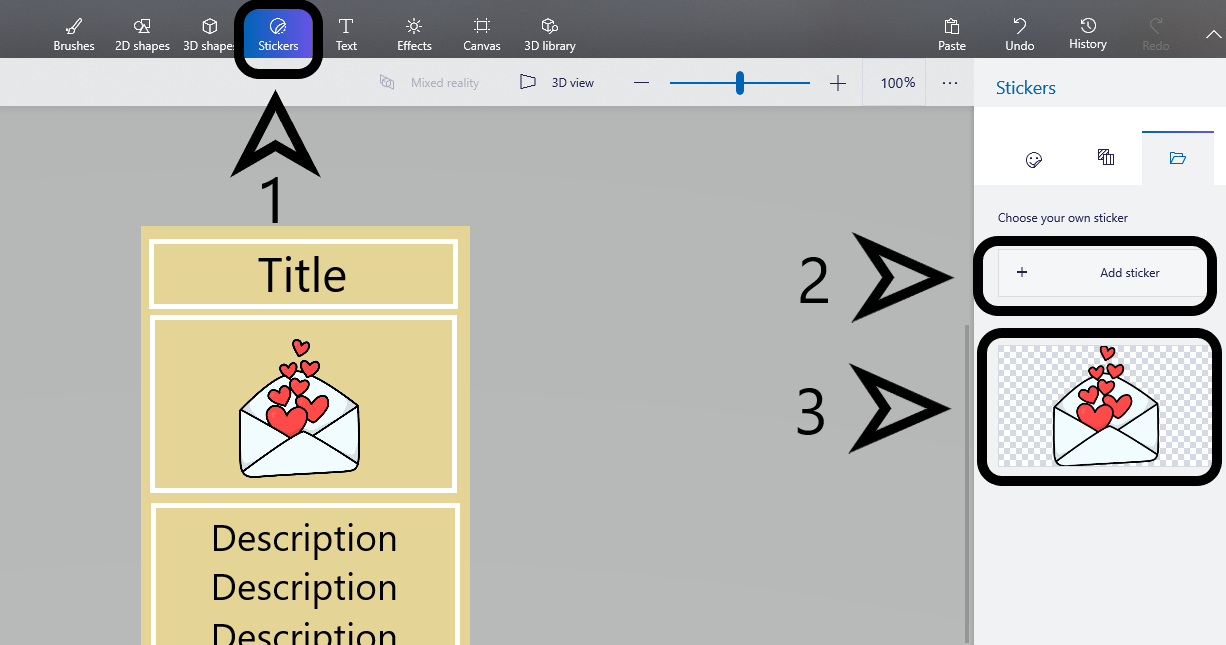
Adding the Image: Go to the Sticker tab, and click add sticker. This uses the images on your device, so you’d have to download the applicable images.
Alternatively, you can also copy + paste an image from online using your keyboard shortcuts.
Step 6
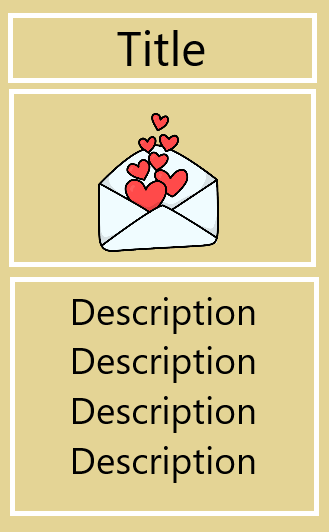
Save to your computer!
Step 7
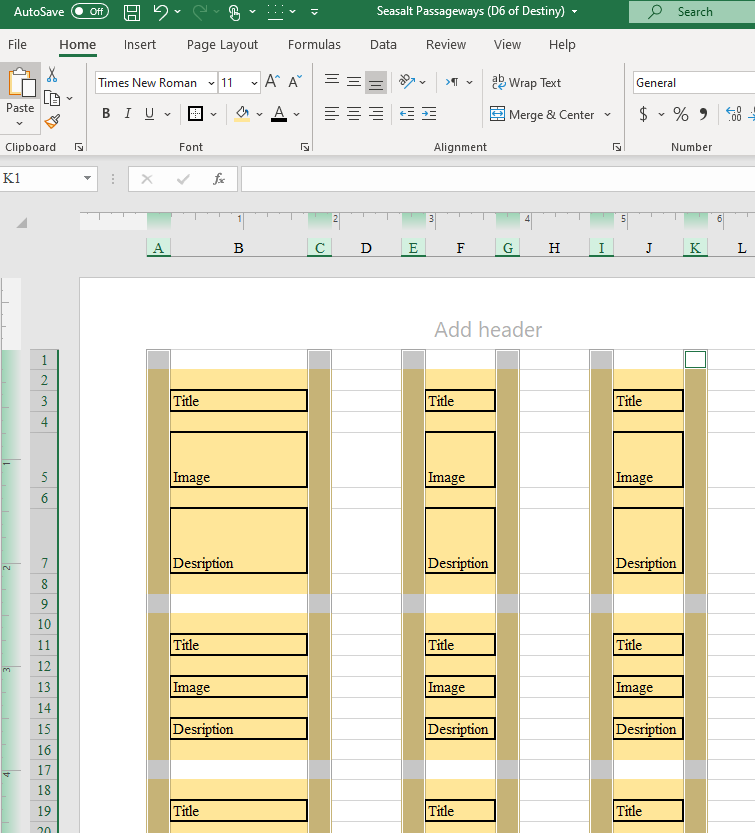
Excel
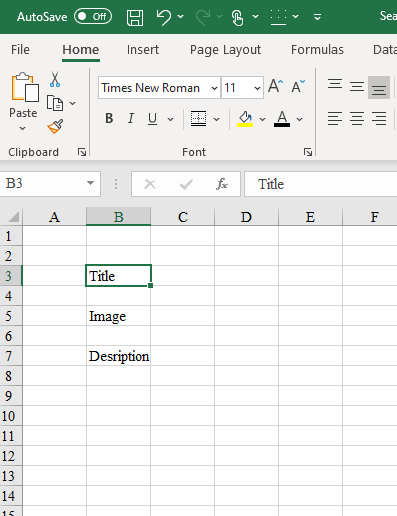
Open up a new tap, and put in what text you want first! Make sure you have some space between the text. make sure there are two rows before the first line.
Step 1
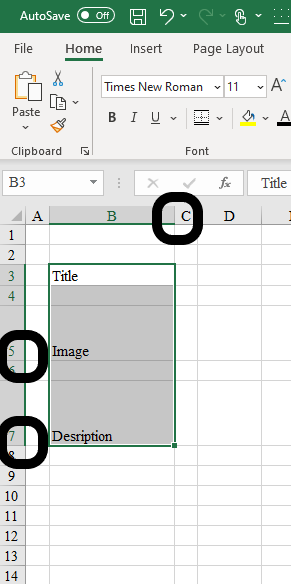
Next, use the numbered and lettered rows and columns to adjust the sizes en-mass. Make A and C skinny- this will be the space between the edge of the card and the text.
Step 2
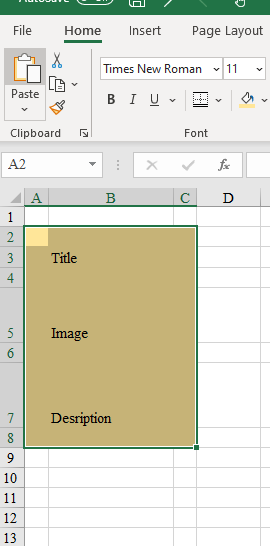
Select A2:C8, and use the bucket tool to fill the whole block in! This will be your base color!
Step 3
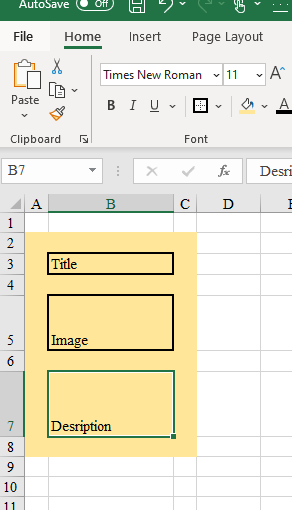
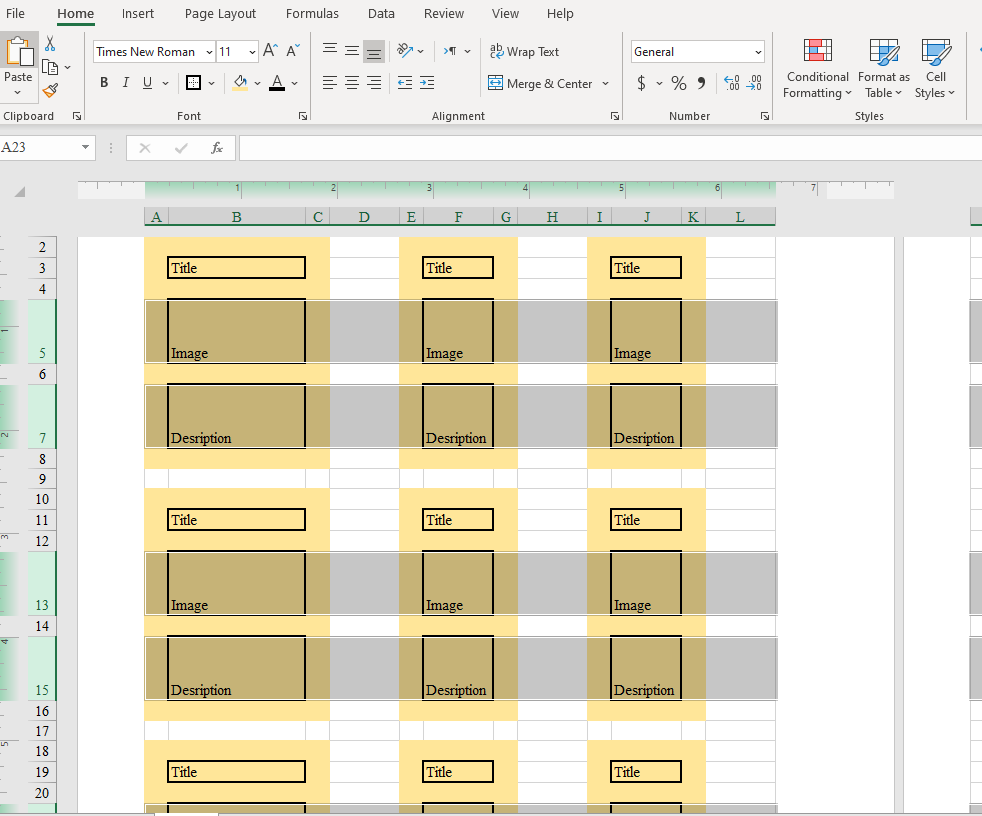
Next, select your text, and use the square button (it’s between the U and the bucket tool), and select the thick, outlined border.
Step 4
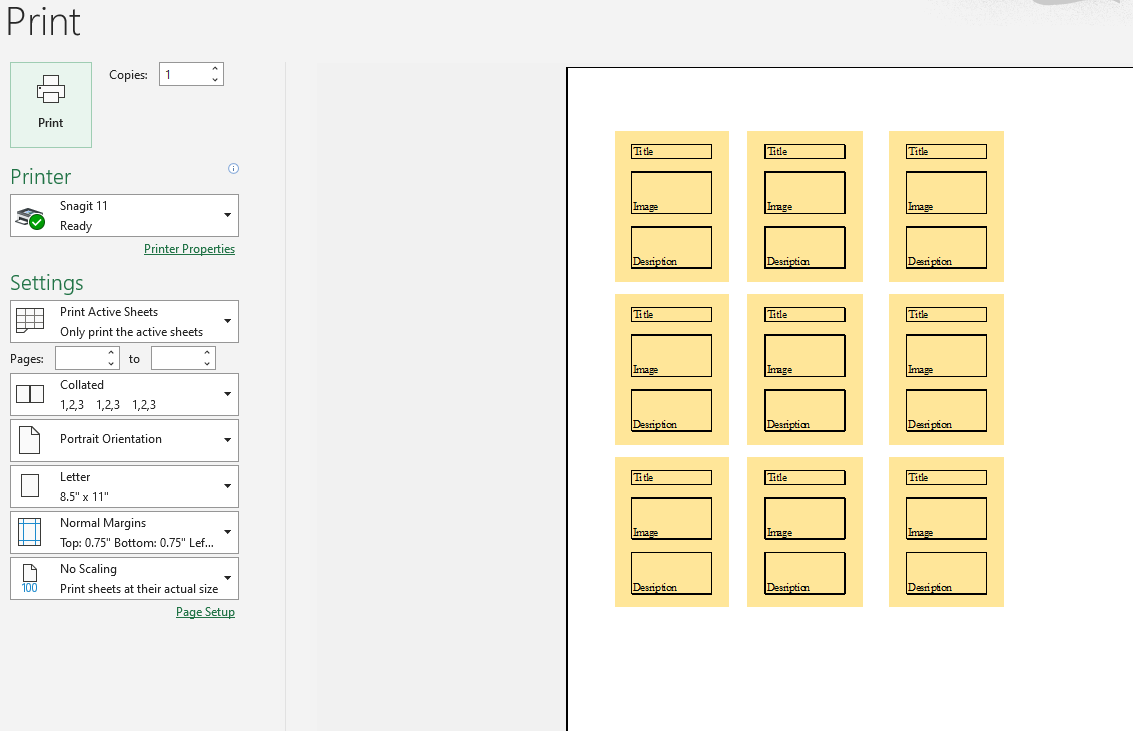
Select your card, and copy and paste it as much as you’d like! Then, select the lettered columns that correspond with the space-filling areas. Adjust the size of one, and it will affect the other highlighted columns.
Step 5
Repeat for the horizonal rows, including the text and description boxes.
No art skills? No problem! If you want to create a card game, and you can do everything except draw, this is for you!
One thing you can do is use other cards as an example, like pokemon cards, Magic cards, or any other game who’s aesthetic you like. If you have physical cards that you no longer care about, you can use white-out on individual lines, or white paint to cover the card. That way, you can write out the information on the cards!
I will show some ways to design cards on your computer!
Let’s start with two classics- MSPaint and Microsoft Word!
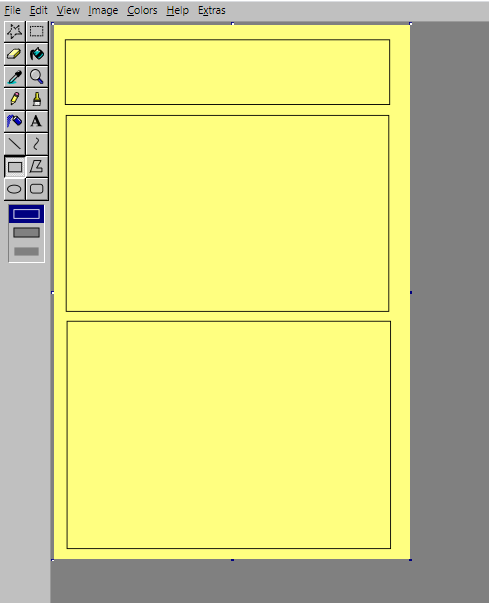
MSPaint
Step 1
Open up a new canvas. Use the bottom right corner to drag to the size you want. Use the Bucket to fill in with a color you want.
Step 2
Use the box-drawing tool to map out where you want the different parts to go (title, image, description). Save a copy of this so you can make as many cards as you want from this base.
Step 3
Write what you want in the boxes you’ve made using the text tool. make sure to click the bottom option if you want the back ground color to show through.
Step 4
If you can’t make an image, find one! Search for what you want, and make sure to select “transparent” in the color options if you wan the background to peek through. If you plan on selling the game, click “Usage rights” and select “creative commons”.
Step 5
Copy and Paste your image onto the card using the left click options.
Final Product
Save your image and admire it! Make as many as you’d like!
Word
Bored in your at-home office? Use your work tools for play! Open a new document and follow along….
Step 1
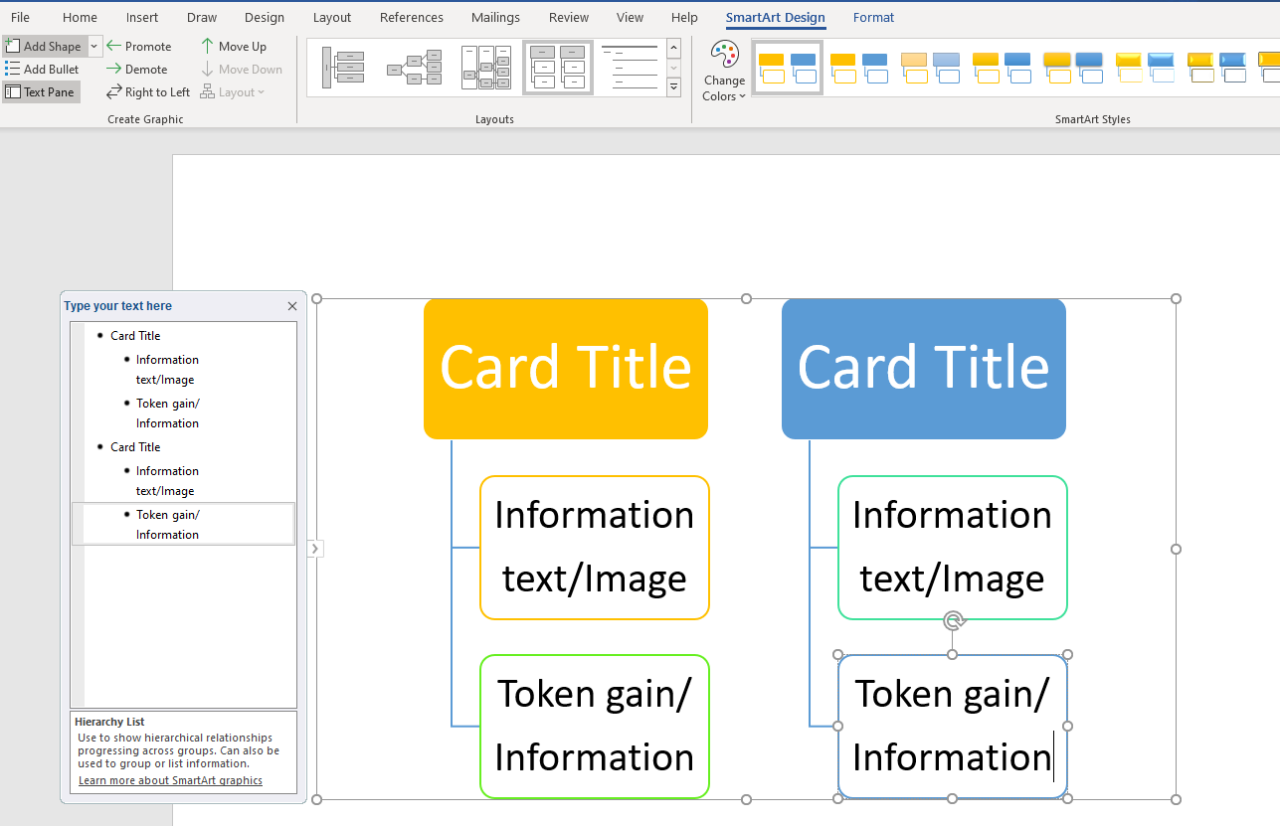
Click the “Insert” tab. Click on “Smart art”, then choose the kind of diagram that best fits what you want on the card. Hit “Ok”
Step 2
Fill in the cards with the information you want! You can also play around with colors +styles.
Step 3
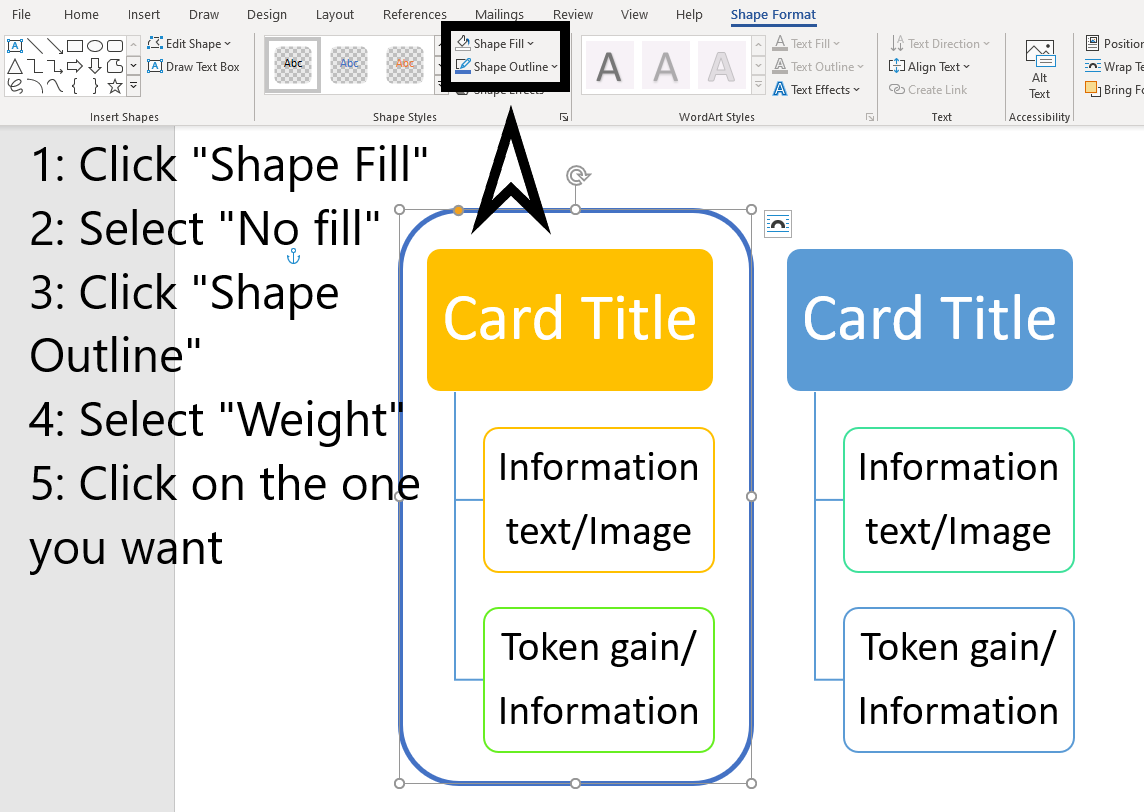
For a card outline/aesthetic: Go to the insert tab, hit “Shapes”. Choose any of the rectangle options (I recommend the rounded kind). Then, adjust the size to fit over what you’ve done.
Step 4
Click on the “Shape format” tab. You can play around with colors here! Click “Shape fill”, select “No fill”. This will give you the outline of your card! Then, if you want a different thickness for the outline, select “weight”, and then click on the number you want. Then, copy and paste your new shape, and move it over to the other Smart-art section.
Step 5
Go to the “Home” tab, and find the “Select” options. Select the drop-down, and hit “Select All”.
Copy the selection. Click below the cards you have and find the typing cursor ( I). Hit the Enter key until there is space after the cards. Paste your selection!
Step 6
Adjust your new cards until you’re happy, and then Print!
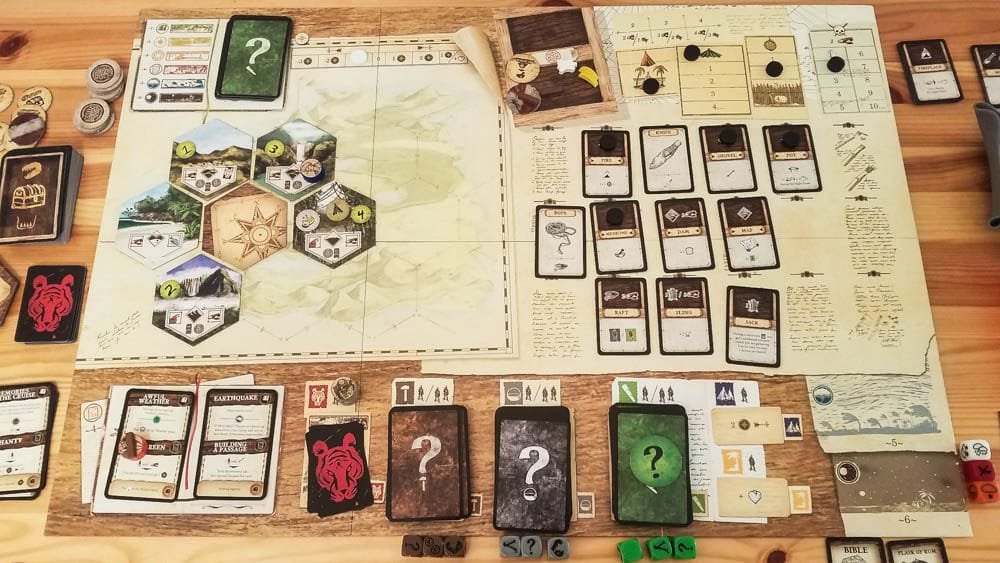
Trapped on our own islands of loneliness, we seek a way out. In this game, you can sate that desperation by escaping the clutches of wilderness. I first heard about Robinson Crusoe the board game from my friend’s history professor. He, like many others, was looking for games to play at home.
One of the several draws of this board game is the ability to play by yourself. Robinson Crusoe has a Single Player option and a Multiplayer one, up to 4 players total. The Game is Published by Portal Games, and is available here.
The Game is based off of the classic book Robinson Crusoe, published in 1719.
Resource-gathering game that included cards, dice and tokens. There are many different paths to victory, which allows for replayability, especially if you have a dislike for repetitive games.