Search for:

No art skills? No problem! Part 2

Part 1 here: https://chrisjonesgaming.net/no-art-skills-no-problem-part-1/ 

In part 2, we’ll be using Excel, and the updated version of MS paint (Paint 3d)

Paint 3D

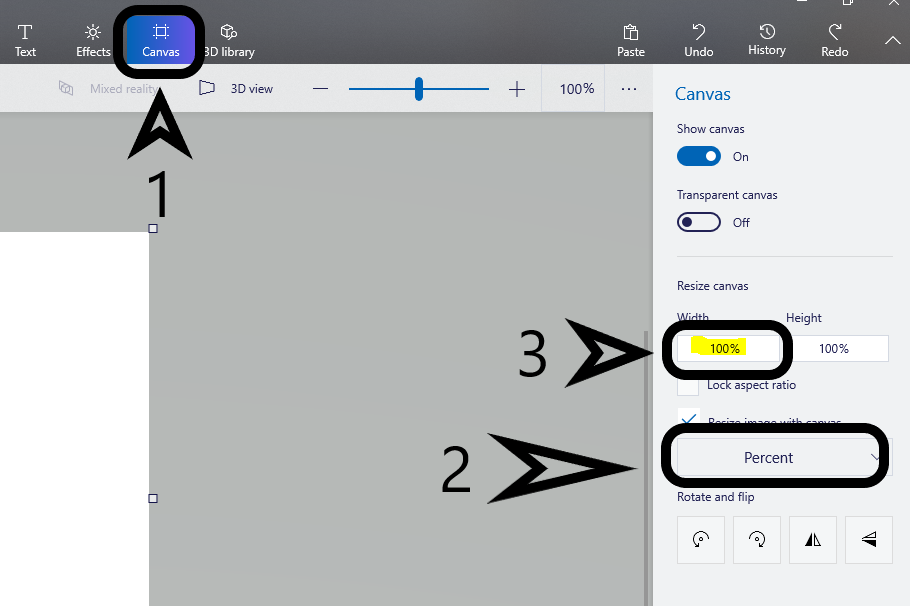
Open up paint 3d! You want to go to the Canvas tab, and switch the sizing from pixels to percent. Type in 30 for the width. Or you can put in the exact pixel size for your card. Pokemon cards are 718 x 1000 pixels.

Step 1

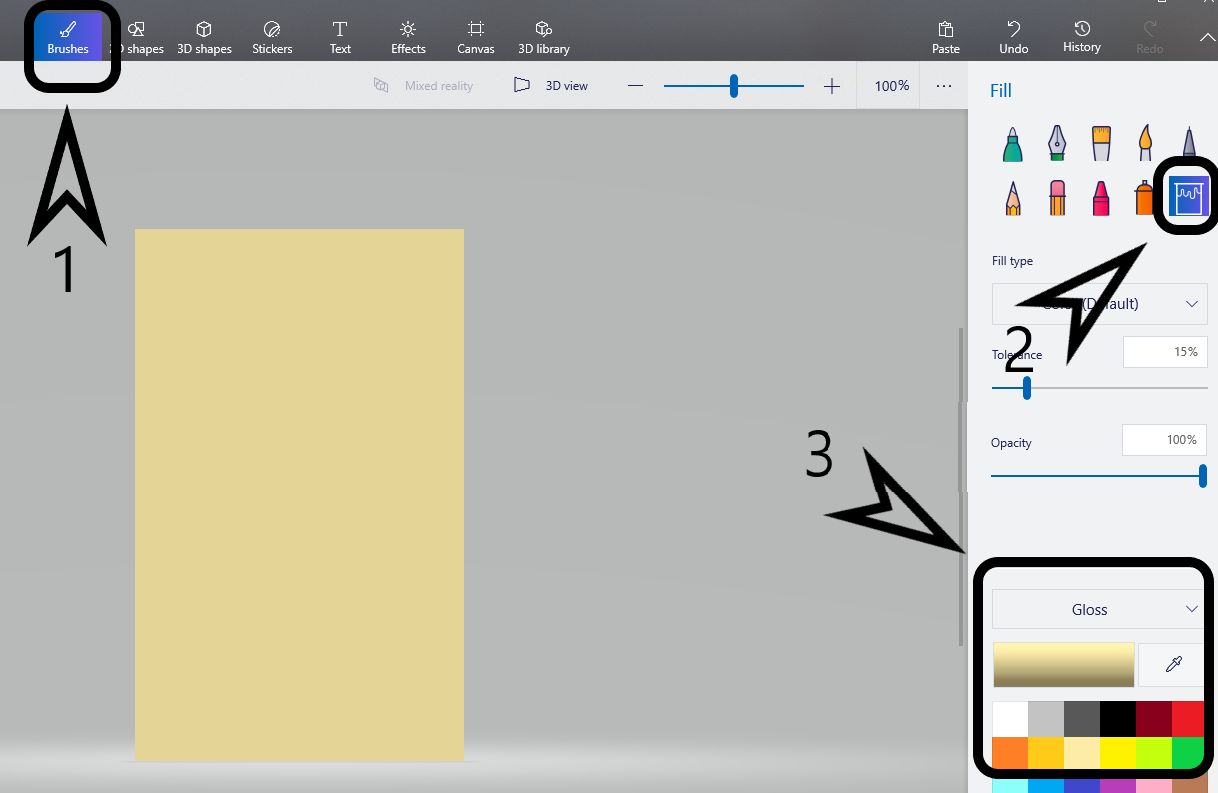
Next, click back to the brushes, select your color and use the bucket (fill) tool on your canvas!

Step 2

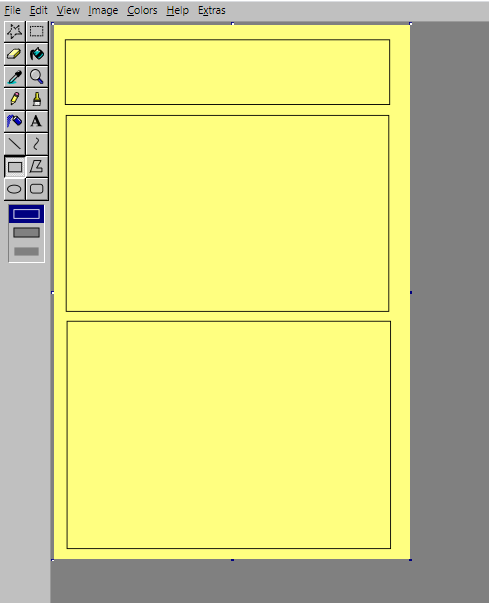
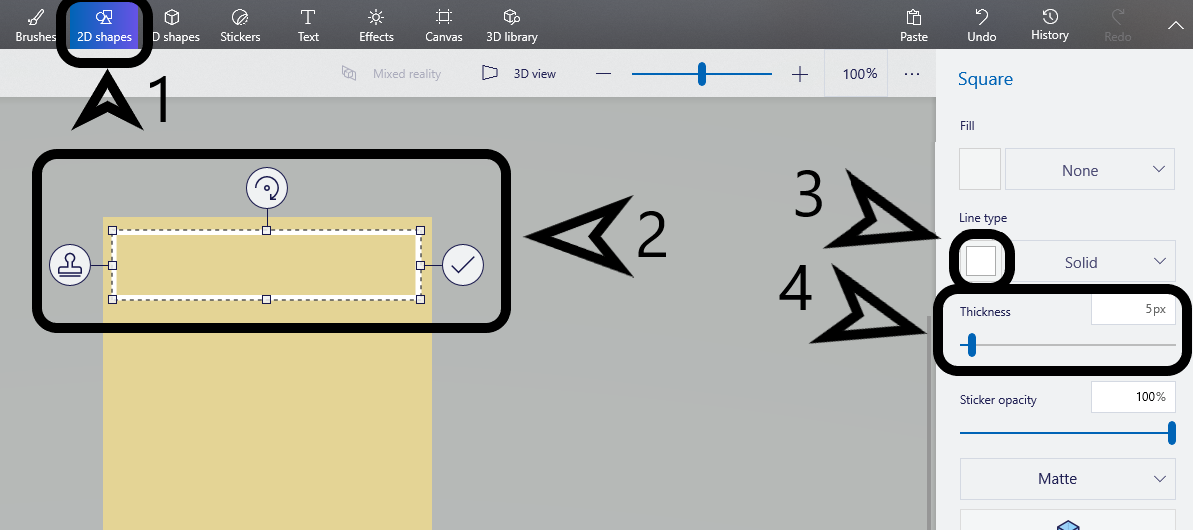
To help figure out what you want, and where, it’s helpful to outline with rectangles! Go to 2D shapes, Pick the rectangle option, drag a corner to grow to the size you want. Then, adjust your line thickness and color to your preference! If the rectangle is a whole shape, you can change it to an outline by changing the fill option to none.

Step 3

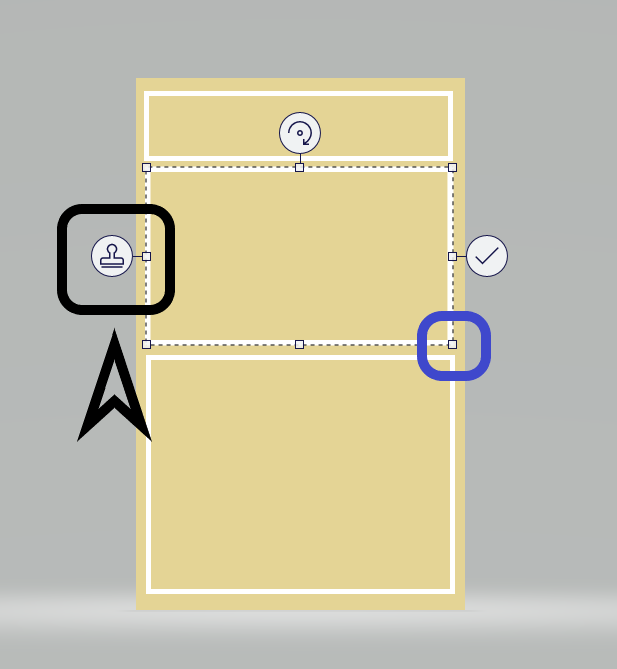
Instead of repeatedly clicking on the 2D shapes, you can use the clone tool. Click the left-most option, and drag the new shape to modify it as you wish!

Step 4

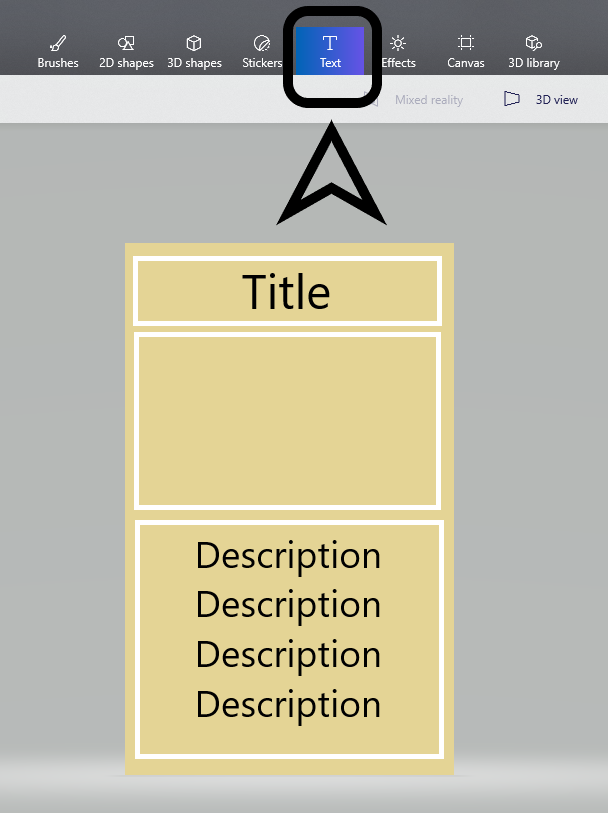
Next, play around with the text options! Make sure to click on the letter “T” in the option bar before clicking where you want to place the text.

Step 5

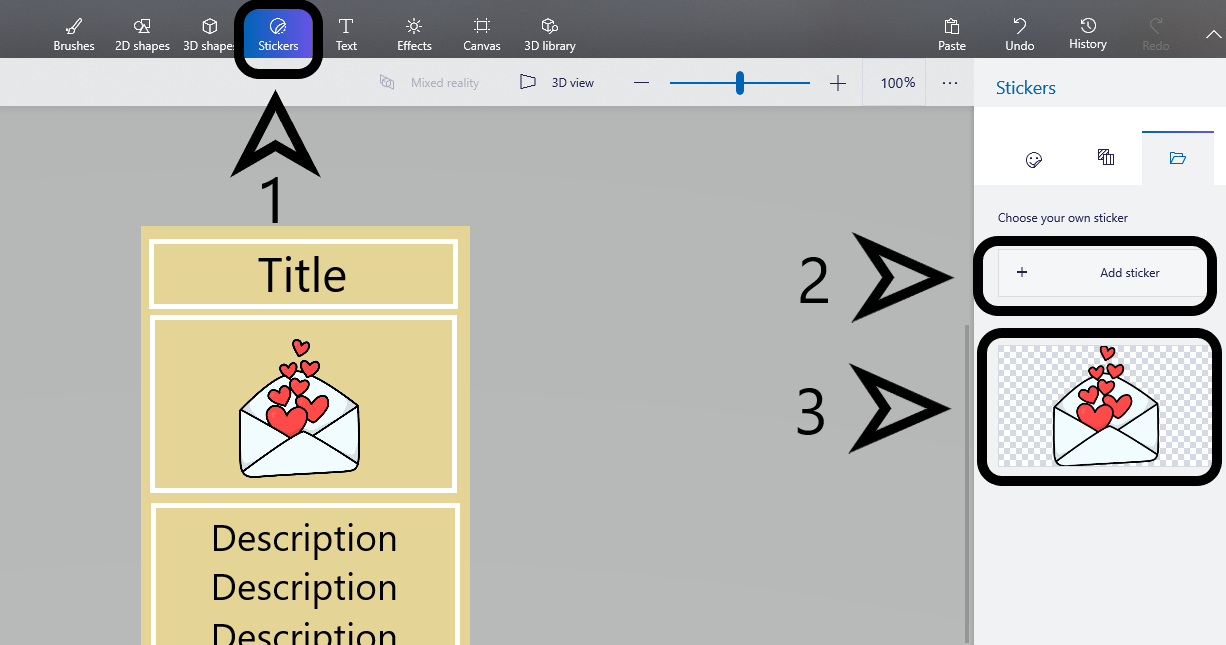
Adding the Image: Go to the Sticker tab, and click add sticker. This uses the images on your device, so you’d have to download the applicable images.

Alternatively, you can also copy + paste an image from online using your keyboard shortcuts.

Step 6

Save to your computer!

Step 7

Excel

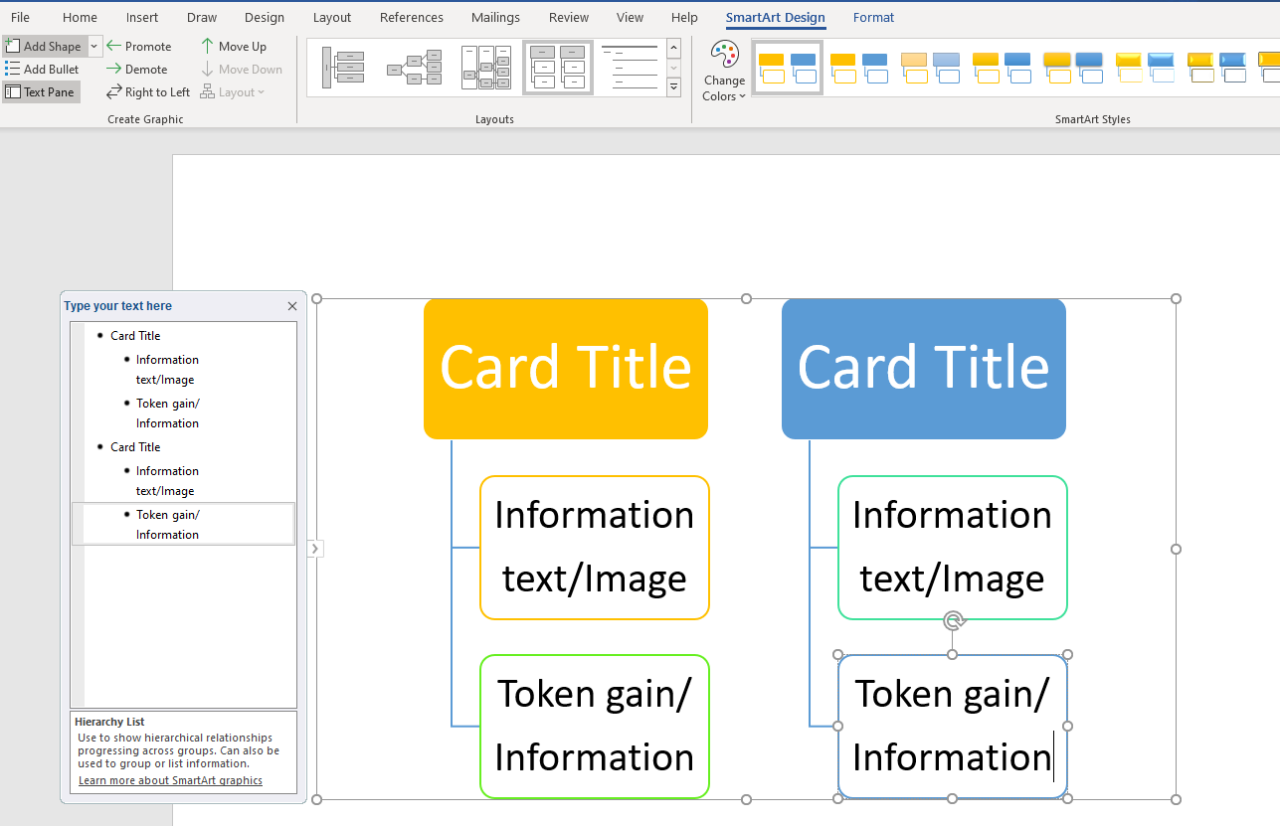
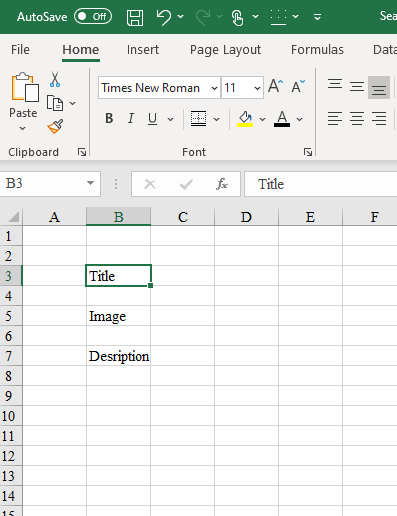
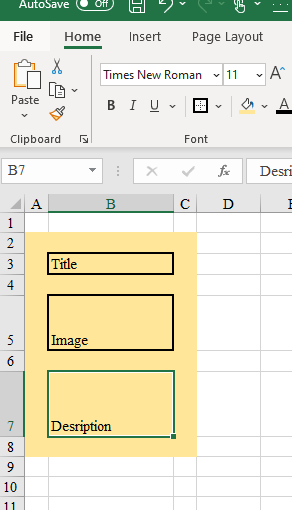
Open up a new tap, and put in what text you want first! Make sure you have some space between the text. make sure there are two rows before the first line.

Step 1

Next, use the numbered and lettered rows and columns to adjust the sizes en-mass. Make A and skinny- this will be the space between the edge of the card and the text.

Step 2

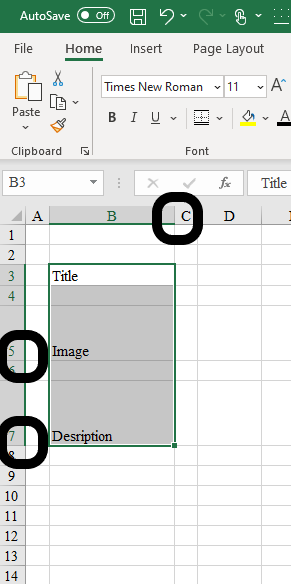
Select A2:C8, and use the bucket tool to fill the whole block in! This will be your base color!

Step 3

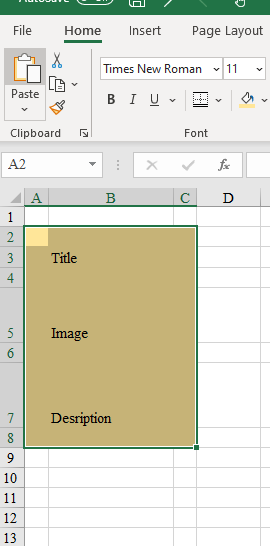
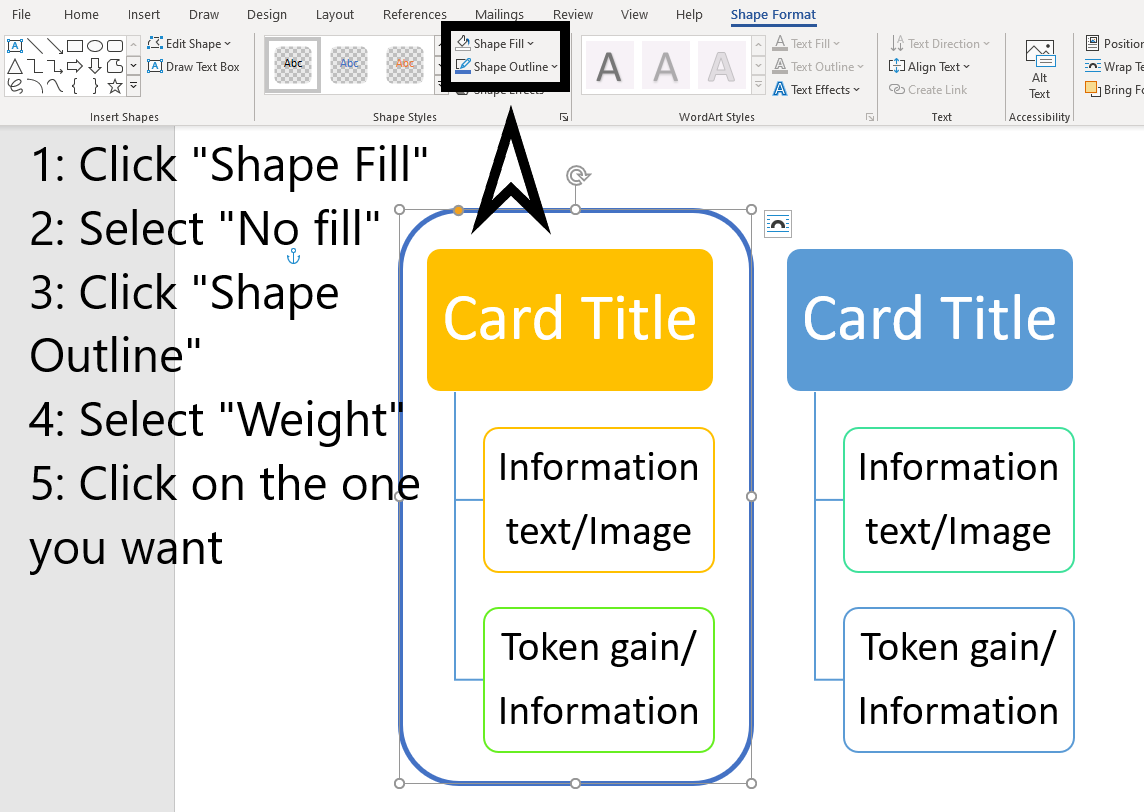
Next, select your text, and use the square button (it’s between the U and the bucket tool), and select the thick, outlined border.

Step 4

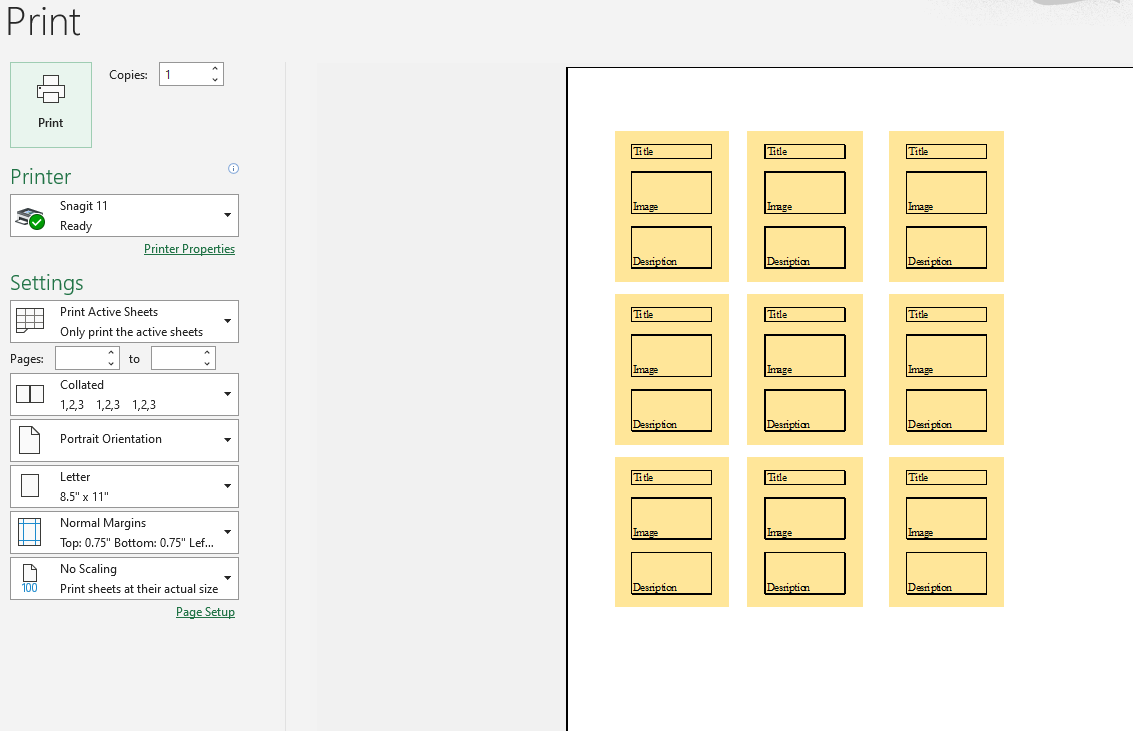
Select your card, and copy and paste it as much as you’d like! Then, select the lettered columns that correspond  with the space-filling areas. Adjust the size of one, and it will affect the other highlighted columns.

Step 5

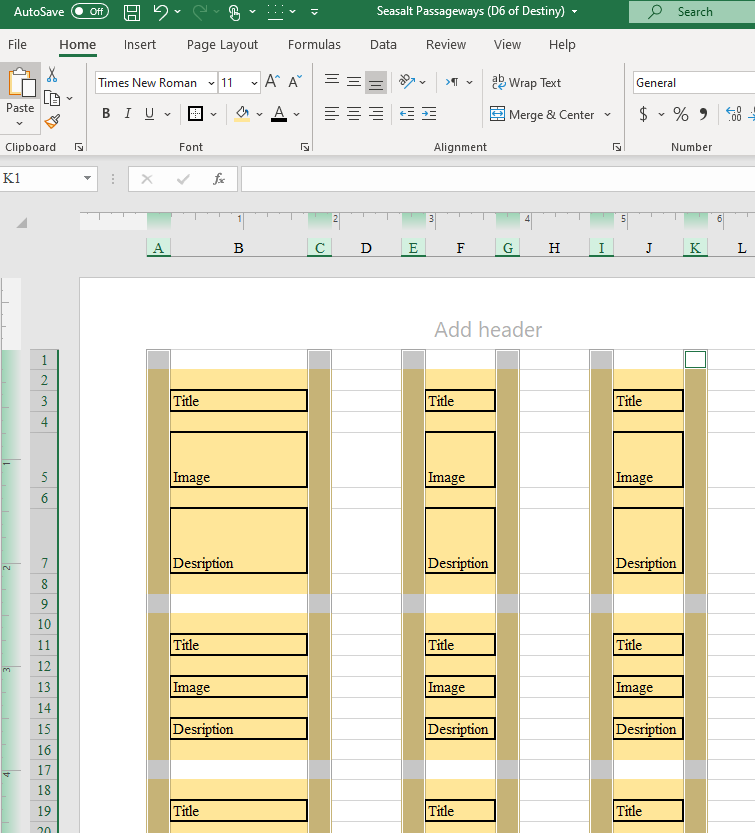
Repeat for the horizonal rows, including the text and description boxes.

Step 6

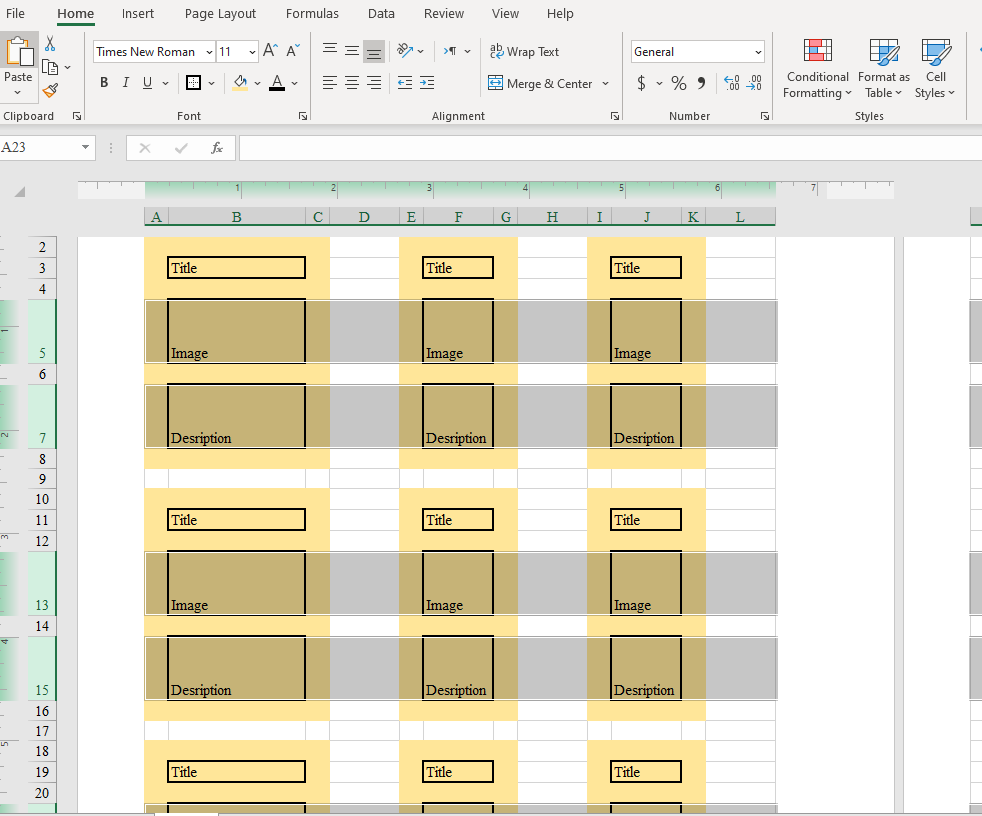
Fill in and Print!!!

Step 7

No art skills? No problem! Part 1

No art skills? No problem! If you want to create a card game, and you can do everything except draw, this is for you!

One thing you can do is use other cards as an example, like pokemon cards, Magic cards, or any other game who’s aesthetic you like. If you have physical cards that you no longer care about, you can use white-out on individual lines, or white paint to cover the card.  That way, you can write out the information on the cards!

I will show some ways to design cards on your computer!

Let’s start with two classics- MSPaint and Microsoft Word!

MSPaint

Step 1

Open up a new canvas. Use the bottom right corner to drag to the size you want. Use the Bucket to fill in with a color you want.

Step 2

Use the box-drawing tool to map out where you want the different parts to go (title, image, description). Save a copy of this so you can make as many cards as you want from this base.

Step 3

Write what you want in the boxes you’ve made using the text tool. make sure to click the bottom option if you want the back ground color to show through.

Step 4

If you can’t make an image, find one! Search for what you want, and make sure to select “transparent” in the color options if you wan the background to peek through. If you plan on selling the game, click “Usage rights” and select “creative commons”.

Step 5

Copy and Paste your image onto the card using the left click options.

Final Product

Save your image and admire it! Make as many as you’d like!

Word

Bored in your at-home office? Use your work tools for play! Open a new document and follow along….

Step 1

Click the “Insert” tab. Click on “Smart art”, then choose the kind of diagram that best fits what you want on the card. Hit “Ok”

Step 2

Fill in the cards with the information you want! You can also play around with colors +styles.

Step 3

For a card outline/aesthetic: Go to the insert tab, hit “Shapes”. Choose any of the rectangle options (I recommend the rounded kind). Then, adjust the size to fit over what you’ve done.

Step 4

Click on the “Shape format” tab.  You can play around with colors here! Click “Shape fill”, select “No fill”. This will give you the outline of your card! Then, if you want a different thickness for the outline, select “weight”, and then click on the number you want. Then, copy and paste your new shape, and move it over to the other Smart-art section.

Step 5

Go to the “Home” tab, and find the “Select” options. Select the drop-down, and hit “Select All”.

Copy the selection. Click below the cards you have and find the typing cursor ( I). Hit the Enter key until there is space after the cards. Paste your selection!

Step 6

Adjust your new cards until you’re happy, and then Print!

Tada!